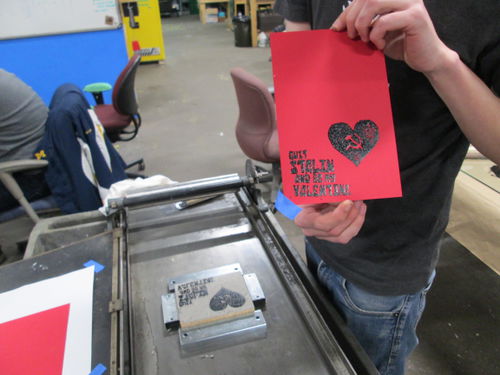
HOWTO Run A Linoleum Block on the Letterpress
Linoleum Block Printing on the Line-O-Scribe Card Writer
Printing with the Line-O-Scribe is relatively easy; it was designed for quick print jobs.
This tutorial will describe how to print with a linoleum block. Please be aware that you should still obtain authorization before running your first print; this device is not open-use.
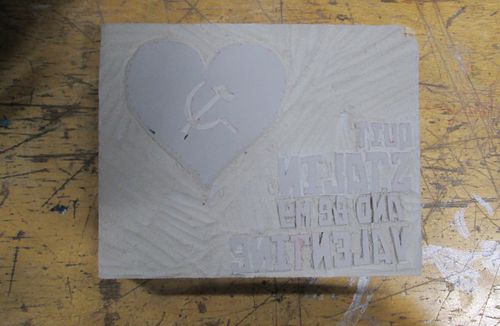
Oh, and the tutorial doesn't cover production of the block. If you're producing your own, please note that lino blocks for this press should be 7/8 inch high. There are lino-carving tools in the black box below the cart, and the approach where you carve with the laser cutter and weed with the lino tools is particularly satisfying.
For the following discussion, the 'drawers' are the set of type-case drawers on the lower shelf of the cart. All other storage is in one or another of the plastic boxes on the cart.
---
Procedure
Before beginning, you should have access to:
- A printing block
- Paper. Printing papers should be smoothly finished and heavy; cardstock is ideal. There is a selection of 10-cents-a-sheet-recommended-donation papers on the lower shelf of the cart.
You should also have a good idea of what your finished product will look like, because you'll need to lay out the block so you can place the paper over it. If you haven't already done one, I recommend doing a mockup of your finished product with scissors and a pencil so you know what paper size you'll need. Then cut yourself as many pieces of paper as you'll need; there's a paper cutter on the cart and others in the Craft Room.
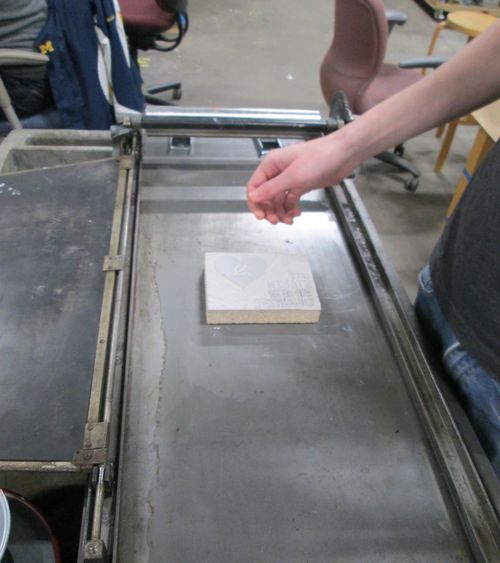
1. Center your block on the bed.
While non-centered positions will work, the flat hinged cover is partially used to distribute weight evenly over the block. If the block is close to the edge of the bed, the torque on the block surface will be less even, and your print will be less even.
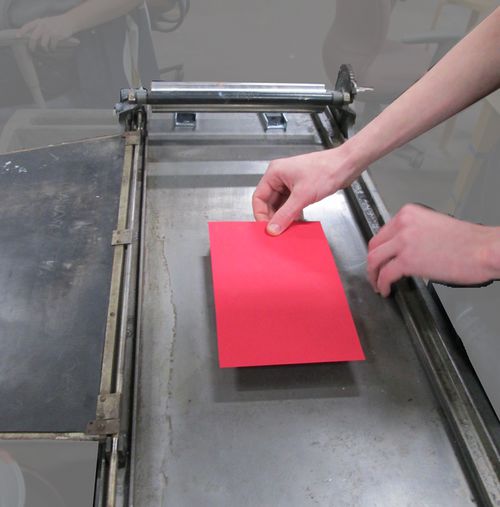
It helps here to lay out your paper on the bed, then place the block on top. (If you don't already know where on your paper the print will go, or how you're laying your work out, now is the time to figure that out.)
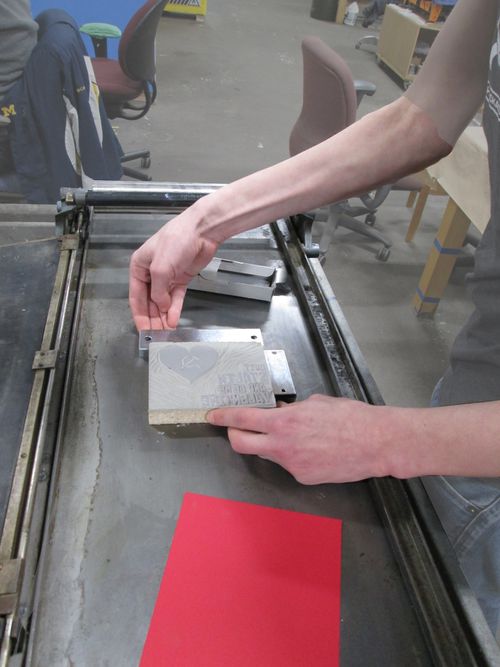
2. Once the block is placed, use the magnets in the top drawer to fix it.
Place magnets on all sides of the block. The entire point of the press is that it applies pressure to the block to transfer ink; without anything holding the block down, it will slide all over and your print will be ruined.
3. Adjust the print height.
TO DO KDF: Details here
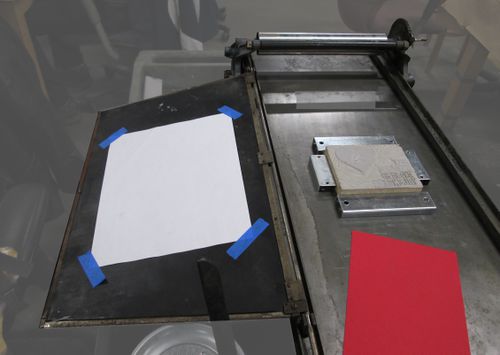
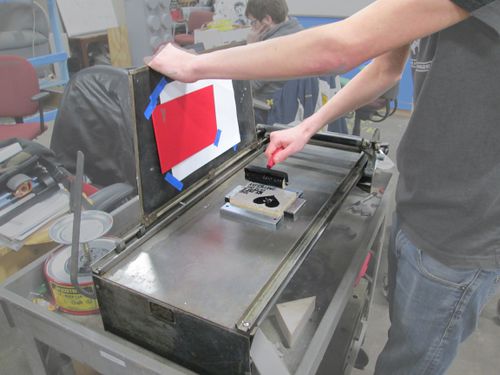
4. Place a top sheet on the inside of the cover. Tape it on.
It should generously cover the block area. It's designed to keep stray ink off the cover, and it's much easier than cleanup. It also allows easy print reregistration--see below.
4. Now create registration marks.
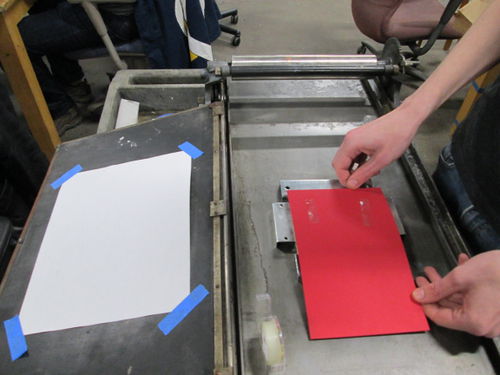
Lay a sheet of your print paper over the block, as it will be when you run the press over it.
Place tape loops or double-sided tape on the top, then close the cover.
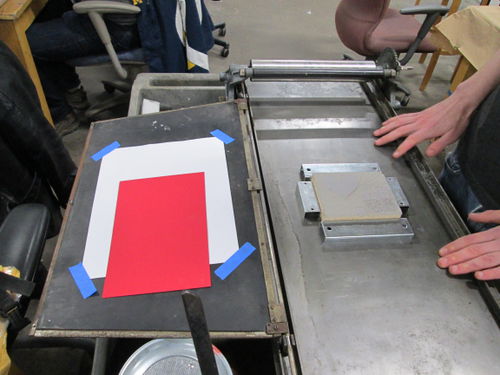
Carefully open it, and either tape the registration sheet down thoroughly or mark it with pencil. You'll be using this to place every print you work with.
5. Bray your ink.
The ink selection is in plastic boxes under the cart. A good rule of thumb is to start with around a third of a cup--a generous scoop if you're using the metal spatula from the cart.
If your ink's been used before, it will have a skin on the surface. You'll want to slide the spatula in at an angle under the skin, grab a glob of fresh ink, and pull the spatula back out leaving the skin in place. If you must, remove the skin, but do not mix the skin back into the ink. Either your print or someone else's will be ruined.
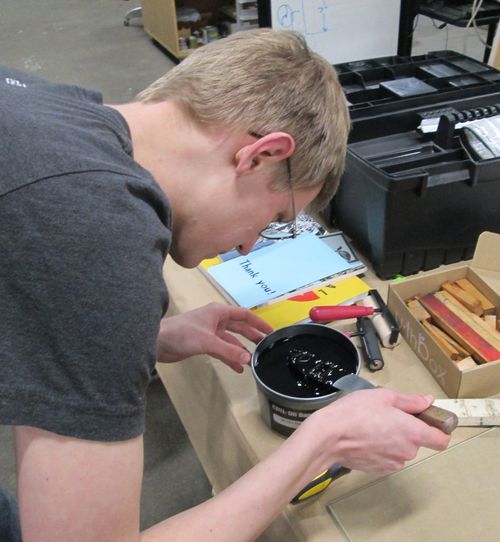
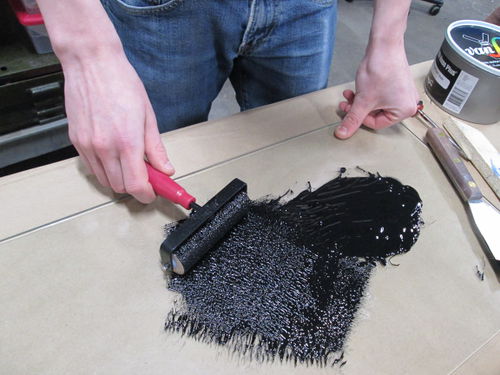
Put the glass panel onto a surface--preferably one where you've laid out paper. Spread the ink onto the surface--it will act like very thick hot fudge. Then grab a brayer and roll the ink out.
Your goal is to spread ink evenly onto the roller. To do that, roll the ink out flat as though you were painting the glass. Note: The person in the photo above is using way too much ink. Less is more. It should look like suede, with minimal visible peaks.
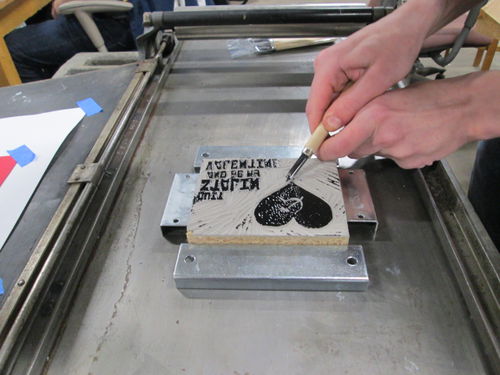
Now, roll ink onto the surface of your block.
During this phase, you may notice that there's ink where you don't want it. (Remember--if there's ink on the block, there will be ink on your paper.) If so, use this opportunity to shave the block down further. Then re-ink the block.
6. Print!
Using your registration marks or top sheet, put a piece of paper on the cover. Tape it onto the cover sheet.
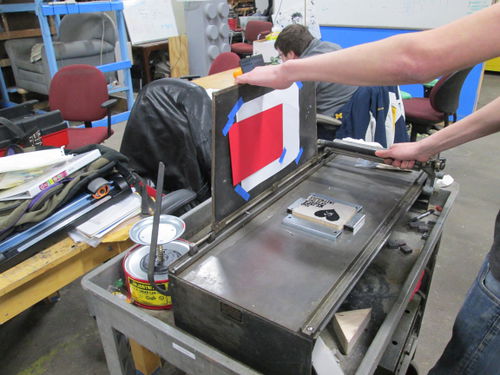
Close the lid. Grab the softer black bar. The entire roller assembly should slide down the track toward you, applying even pressure over the surface of the block and paper. In Ashley's words, there shouldn't be a bump, nor should the roller slide freely.
Open the lid, and take your paper off. Put it in the drying rack. 24 hours should be sufficient time to set the ink, although 2 or 3 is often enough to prevent smudging.
If you're continuing, repeat the process. If you're finished, it's time to clean up.
Cleanup
First, mineral spirits will dissolve the ink you've been working with. Gam-sol comes particularly recommended.
I recommend wearing gloves for this activity.
Remove any excess ink from the brayer. Don't return it ot the can! It's already partly set, and will ruin the rest of your ink. Instead, scrape off the excess clumped ink onto cardboard, and leave it to dry in the flammables cabinet.
Now, using the rags stored under the cart, start wiping down anything that's got ink on it. The ink will, like oil paint, dry to a hard film, ruining soft materials and forcing cleaning work on hard ones. This WILL take a long time, but it's time you won't have to spend scraping dried ink off of the press.
Discard of used rags in the red cans in the flammables cabinet.
